compatibility check
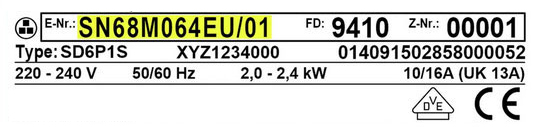
Please enter a model number to check compatibility (without spaces or hyphens)
checker...
 Marom Service The official service company for Kitchen & Home Appliances from Sharp, Bloomberg, Haier, Zanussi, Auchent, DeLonghi, Magimix, KitchenAid and Tefal
Goldsmith 3, Holon
- There is no response from a representative in any way: text, phone, WhatsApp,
What will happen to that?
Maybe you can make it clear on your website when, where, and what can be brought to you, with or without coordination?
Because in this situation, I have to travel to Holon, and not know what awaits me there.
Not comfortable at all! - To all Dubai addresses
I would like to note that I called to coordinate a technician to install a washing machine I purchased and a representative named Tevel answered (thanks for spelling her name correctly).
Beko was very relaxed and patient, she accompanied me on the line. I asked for him to arrive quickly and without question she found a date. … Blackberries Available and fast.
The company's human capital is the face that customers meet. I will definitely buy from you again and recommend you to all my friends.
Tevel - Thank you for your exceptional service...
The main thing is that you continue to do your work with the same joy and grace that you manifest in doing it. - I wanted to praise the service of technician Rotem and the service representative - each and every one of them! And one specifically, Amira. Kudos for your professionalism, kindness, patience, and willingness to help!
- I scheduled a technician with a representative despite the war, and they even reminded me by SMS the day before. Three hours after the technician was supposed to arrive, I received an SMS that due to the situation, the call was canceled and that I would have to reschedule with a technician on the site.
At least they would have announced the day before or that morning that he wouldn't be coming and so it wouldn't have happened. … Blackberries I would be canceling essential work. Disappointing


Related products
-

- out of stock
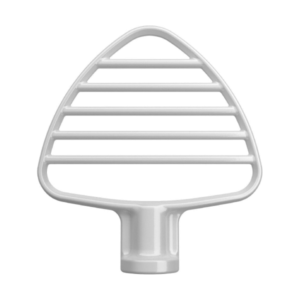
Dough rolling accessory for the 5KPSA Kitchenaid mixer
- ₪584
- More Information
-
-

- out of stock
Glass bowl 4.8L for the KitchenAid K5GB mixer
- ₪302
- More Information
-